Over the past week or so, I’ve been working with the VMware team to solve compatibility issues with open-vm-tools running under ARM. As of right now, I’m excited to report that initial tests are showing that open-vm-tools is now working great! However, these changes have not been pushed upstream yet either to the FreeBSD Ports collection or into the upstream open-vm-tools repository. There are active requests for this that are under review, but if you’d like to get up and running today, please follow along.
There are two different options to get open-vm-tools on FreeBSD for ARM right now. I’ve provided pre-compiled packages for a few key FreeBSD versions. Alternatively, you can compile them yourself from the custom ports that I’ve provided.
Pre-compiled Packages
Download the appropriate package for your FreeBSD version. Both open-vm-tools and open-vm-tools-nox11. The former is if you’re intending to have a full X11 graphical desktop, the latter for command line only systems such as servers.
Use one of the following commands for your version of FreeBSD.
# open-vm-tools-nox11 dependencies
pkg install -y libmspack libdnet fusefs-libs gettext-runtime glib


# FreeBSD 12.1-RELEASE (desktop)
pkg add https://vincerants.com/public/freebsd-arm/12.1-RELEASE/emulators/open-vm-tools-11.1.5.3%2C2.txz

# FreeBSD 12.1-RELEASE (no-X11)
pkg add https://vincerants.com/public/freebsd-arm/12.1-RELEASE/emulators/open-vm-tools-nox11-11.1.5.3%2C2.txz


#FreBSD 12.2-RC3 (desktop)
pkg add https://vincerants.com/public/freebsd-arm/12.2-RC3/emulators/open-vm-tools-11.1.5.3%2C2.txz

#FreBSD 12.2-RC3 (no-X11)
pkg add https://vincerants.com/public/freebsd-arm/12.2-RC3/emulators/open-vm-tools-nox11-11.1.5.3%2C2.txz


# FreeBSD 13.0-CURRENT 20201015 (desktop)
pkg add https://vincerants.com/public/freebsd-arm/13.0-20201015/emulators/open-vm-tools-11.1.5.3%2C2.txz

# FreeBSD 13.0-CURRENT 20201015 (no-X11)
pkg add https://vincerants.com/public/freebsd-arm/13.0-20201015/emulators/open-vm-tools-nox11-11.1.5.3%2C2.txz
Manually Compiling open-vm-tools
I’ve created a supplementary ports collection which has the needed patches to get open-vm-tools running on FreeBSD under VMware ESXi ARM Fling. Before running the following commands, ensure you have the latest version of pkg built and installed. The version bundled with FreeBSD is out of date.
# Update the version of pkg installed
cd /usr/ports/ports-mgmt/pkg
make
make reinstall
# Build and install open-vm-tools
mkdir /code
cd /code
git clone https://github.com/darkain/ports.git
cd /code/ports/emulators/open-vm-tools
make
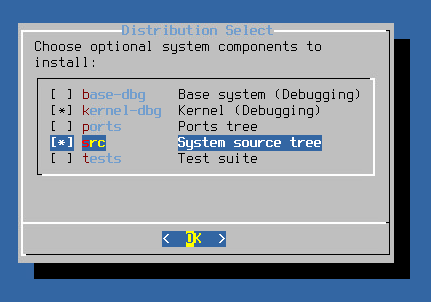
make installEnabling open-vm-tools
After installing open-vm-tools, the associated services need to be enabled. Add the following to your /etc/rc.conf file and reboot your virtual machine.
vmware_guest_vmblock_enable="YES"
vmware_guest_vmhgfs_enable="YES"
vmware_guest_vmmemctl_enable="YES"
vmware_guest_vmxnet_enable="YES"
vmware_guestd_enable="YES"
What Code Changes Were Needed
https://github.com/vmware/open-vm-tools/pull/474
This pull request documents the files that have changed. The custom ports collection listed above simply references these changes. Please feel free to review these changes and comment on the github pull request if you have more to add to make FreeBSD ARM support better!