open-vm-tools on FreeBSD under VMware ESXi ARM Fling

Over the past week or so, I’ve been working with the VMware team to solve compatibility issues with open-vm-tools running under ARM. As of right now, I’m excited to report that initial tests are showing that open-vm-tools is now working great! However, these changes have not been pushed upstream yet either to the FreeBSD Ports collection or into the upstream open-vm-tools repository. There are active requests for this that are under review, but if you’d like to get up and running today, please follow along.

There are two different options to get open-vm-tools on FreeBSD for ARM right now. I’ve provided pre-compiled packages for a few key FreeBSD versions. Alternatively, you can compile them yourself from the custom ports that I’ve provided.


Pre-compiled Packages

Download the appropriate package for your FreeBSD version. Both open-vm-tools and open-vm-tools-nox11. The former is if you’re intending to have a full X11 graphical desktop, the latter for command line only systems such as servers.

Use one of the following commands for your version of FreeBSD.

# open-vm-tools-nox11 dependencies
pkg install -y libmspack libdnet fusefs-libs gettext-runtime glib


# FreeBSD 12.1-RELEASE (desktop)
pkg add https://vincerants.com/public/freebsd-arm/12.1-RELEASE/emulators/open-vm-tools-11.1.5.3%2C2.txz

# FreeBSD 12.1-RELEASE (no-X11)
pkg add https://vincerants.com/public/freebsd-arm/12.1-RELEASE/emulators/open-vm-tools-nox11-11.1.5.3%2C2.txz


#FreBSD 12.2-RC3 (desktop)
pkg add https://vincerants.com/public/freebsd-arm/12.2-RC3/emulators/open-vm-tools-11.1.5.3%2C2.txz

#FreBSD 12.2-RC3 (no-X11)
pkg add https://vincerants.com/public/freebsd-arm/12.2-RC3/emulators/open-vm-tools-nox11-11.1.5.3%2C2.txz


# FreeBSD 13.0-CURRENT 20201015 (desktop)
pkg add https://vincerants.com/public/freebsd-arm/13.0-20201015/emulators/open-vm-tools-11.1.5.3%2C2.txz

# FreeBSD 13.0-CURRENT 20201015 (no-X11)
pkg add https://vincerants.com/public/freebsd-arm/13.0-20201015/emulators/open-vm-tools-nox11-11.1.5.3%2C2.txz

Manually Compiling open-vm-tools

I’ve created a supplementary ports collection which has the needed patches to get open-vm-tools running on FreeBSD under VMware ESXi ARM Fling. Before running the following commands, ensure you have the latest version of pkg built and installed. The version bundled with FreeBSD is out of date.

# Update the version of pkg installed
cd /usr/ports/ports-mgmt/pkg
make
make reinstall

# Build and install open-vm-tools
mkdir /code
cd /code
git clone https://github.com/darkain/ports.git
cd /code/ports/emulators/open-vm-tools
make
make install

Enabling open-vm-tools

After installing open-vm-tools, the associated services need to be enabled. Add the following to your /etc/rc.conf file and reboot your virtual machine.

vmware_guest_vmblock_enable="YES"
vmware_guest_vmhgfs_enable="YES"
vmware_guest_vmmemctl_enable="YES"
vmware_guest_vmxnet_enable="YES"
vmware_guestd_enable="YES"

What Code Changes Were Needed

https://github.com/vmware/open-vm-tools/pull/474

This pull request documents the files that have changed. The custom ports collection listed above simply references these changes. Please feel free to review these changes and comment on the github pull request if you have more to add to make FreeBSD ARM support better!

FreeBSD on ESXi ARM Fling: Fixing Virtual Hardware

With the current state of FreeBSD on ARM in general, a number of hardware drivers are either set to not auto-load on boot, or are entirely missing altogether. This page is to document my findings with various bits of hardware, and if possible, list fixes.


USB 2.0 Controller (uhci)

https://www.freebsd.org/cgi/man.cgi?query=uhci&sektion=4

UPDATE 2020-10-22: Today’s FreeBSD snapshot ISO image now includes the uhci driver, meaning you no longer need to worry about which USB controller is selected in VMware (you still need at least one though, as the virtual keyboard is USB based)

If you switch the USB Controller for the FreeBSD virtual machine from the 3.1 controller to the 2.0 controller, you’ll lose all USB support. This also means that virtual USB devices like keyboard and mouse will stop functioning as well. To get the virtual USB 2.0 controller to function, add the following to your /boot/loader.conf file and reboot your FreeBSD VM.

uhci_load="YES"

NOTE: If you create the virtual machine through a remote connection on VMware Workstation, it will default to using the USB 2.0 controller rather than the USB 3.1 controller. Because of this, FreeBSD without the uhci driver will not have a functional keyboard. Change the controller type from USB 2.0 to USB 3.1 and reboot the virtual machine to get keyboard functionality again.


USB Virtual Mouse (ums)

https://www.freebsd.org/cgi/man.cgi?query=ums&sektion=4

The vmmouse driver, or virtual machine mouse driver, will not work by default due to missing the USB Mouse driver. To load the USB Mouse driver, add the following to your /boot/loader.conf file and reboot your FreeBSD VM.

ums_load="YES"

Virtual Network Card (vmxnet)

https://www.freebsd.org/cgi/man.cgi?query=vmx&sektion=4

UPDATE 2020-10-22: Today’s FreeBSD snapshot ISO image now includes the vmxnet driver pre-compiled. However, it is not yet loaded by default. You’ll still need to update your /boot/loader.conf

The precompiled vmxnet driver is not included with FreeBSD on ARM, however compiling it manually works without any modification to source code to make it work on ARM. To do this, you must ensure you either install the system source tree when installing FreeBSD, or download the source matching your FreeBSD version after install.

Next, compile and install the vmxnet driver.

cd /usr/src/sys/modules/vmware/vmxnet3
make
make install

After building and installing the vmxnet driver, add the following to your /boot/loader.conf file and reboot your FreeBSD VM to load the driver.

if_vmx_load="YES"

Alternatively, you can download the pre-compiled kernel module for any of the following FreeBSD versions. Place the if_vmx.ko driver file in /boot/modules/ and then follow the instructions above to for modifying /boot/loader.conf to load the driver at boot time.


Paravirtual SCSI Controller (pvscsi)

UPDATE 2020-10-22: Today’s FreeBSD snapshot ISO image now includes the pvscsi driver pre-compiled. However, it is not yet loaded by default. You’ll still need to update your /boot/loader.conf

The pvscsi driver is new to FreeBSD 13.0-CURRENT, so new in fact it doesn’t have a man page to link to yet. The driver, however, compiles and runs fine on ARM64, however I’ve yet to get it to work as the boot device controller. Currently the ARM64 UEFI inside of the virtual machine doesn’t appear to query the pvscsi controller on boot for potential boot devices.

The instructions are virtually the same as for the vmxnet driver above. Ensure that you have the system source tree option enabled when installing FreeBSD, and then do the following.

cd /usr/src/sys/modules/vmware/pvscsi
make
make install

After building and installing the pvscsi driver, add the following to your /boot/loader.conf file and reboot your FreeBSD VM to load the driver.

pvscsi_load="YES"

Alternatively, you can download the pre-compiled kernel module for any of the following FreeBSD versions. Place the if_vmx.ko driver file in /boot/modules/ and then follow the instructions above to for modifying /boot/loader.conf to load the driver at boot time.


Virtual Machine Communication Interface (vmci)

This driver currently contains i386/AMD64 specific assembly macros that I’ve yet to convert to ARM/aarch64. I also don’t have any way to test working vmci afterwards yet. So for the time being, this driver isn’t working.


CD-ROM (cd)

https://www.freebsd.org/cgi/man.cgi?query=cd&sektion=4

UPDATE 2020-10-16: Yesterday’s snapshot ISO now contains the cd-rom driver. With this, the ISO now boots and installs perfectly as expected. You can get the 2020-10-15 or newer ISO from the following URL. This driver, however, is missing from 12.2-RELEASE. It should be included in future 12-SNAPSHOT releases though!

CD-ROM support was added to the FreeBSD ARM64 GENERIC kernel a few days ago, however, that was after the most recent FreeBSD 13.0-CURRENT snapshot as of this blog post. The next snapshot should have CD-ROM support, meaning the next snapshot’s ISO installer should be bootable under ESXi ARM Fling.

https://download.freebsd.org/ftp/snapshots/arm64/aarch64/ISO-IMAGES/13.0/

FreeBSD under VMware ESXi on Arm Fling

UPDATE 2020-10-17

As of the FreeBSD 13.0-CURRENT snapshot from 2020-10-15, the installation ISO is now bootable and fully works to install FreeBSD on ARM just as you would do under VMware on i386 or AMD64.

Download the latest disk1.iso image from the following URL, load it into the virtual CD-ROM drive, and boot your new VM like normal. It should boot off of the ISO image and enter the FreeBSD installer as expected.

https://download.freebsd.org/ftp/snapshots/arm64/aarch64/ISO-IMAGES/13.0/

Additional information on getting individual drivers to work under FreeBSD on ARM can be found at the following link.

https://vincerants.com/freebsd-on-esxi-arm-fling-fixing-virtual-hardware/


Earlier this week, VMware released ESXi on Arm Fling, their hypervisor for the ARM platform. Here are instructions to get a FreeBSD virtual machine up and running under VMWare ESXi on Arm Fling.

These instruction assume you’ve followed VMware’s documentation on setting up the hypervisor on your ARM platform, and are familiar with the basics of how ESXi/vSphere functions.

For my hardware configuration, I’m using a Raspberry Pi 4 (8GB) with whatever old MicroSD card I could find for the UEFI firmware, and an equally old USB drive to install the hypervisor on to. The ESXi install is less than 200MiB. For actual VM storage, I am using an existing x86-64 iSCSI VMFS from my NAS.

These instructions follow the process of downloading the official ARM VMDK files from FreeBSD. I’ve as of yet to get the installer ISO to boot properly, so for the time being, this is how we’ll work. (see update above)

Both FreeBSD 12.1-RELEASE and 13.0-CURRENT will work for this process, though I personally recommend 13.0 as it has a more complete collection of pre-compiled 3rd part ports software.


Downloading and preparing the VMDK

Download the compressed VMDK file from one of the following URLs, and then extract it locally.

https://download.freebsd.org/ftp/releases/VM-IMAGES/12.1-RELEASE/aarch64/Latest/

https://download.freebsd.org/ftp/snapshots/VM-IMAGES/13.0-CURRENT/aarch64/Latest/

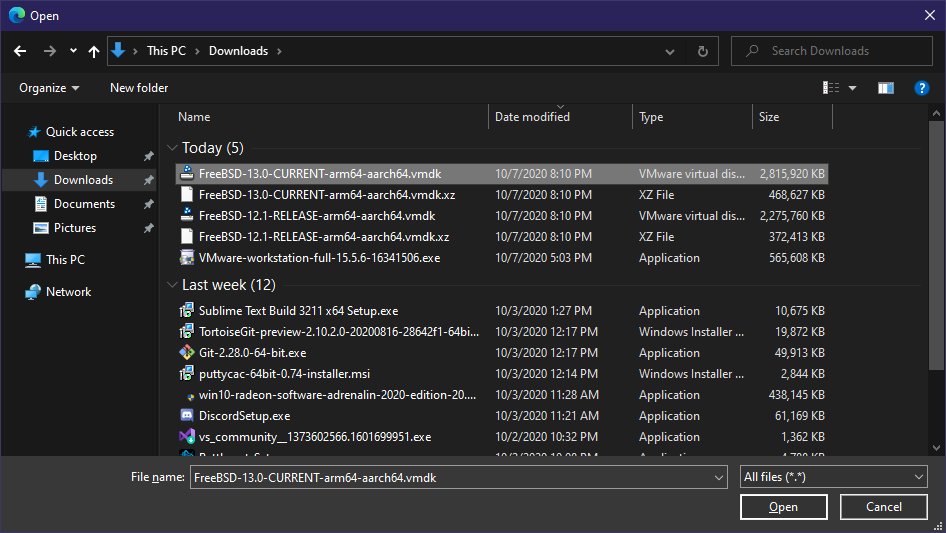
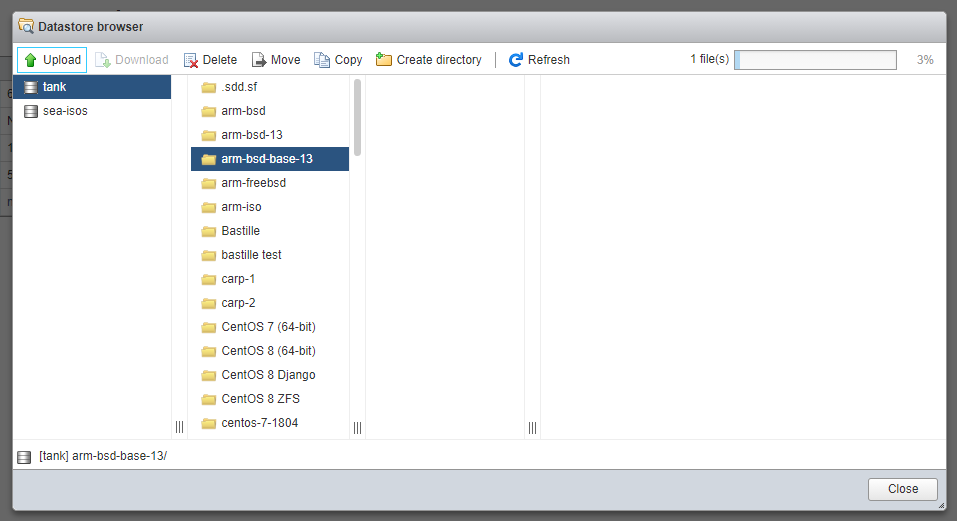
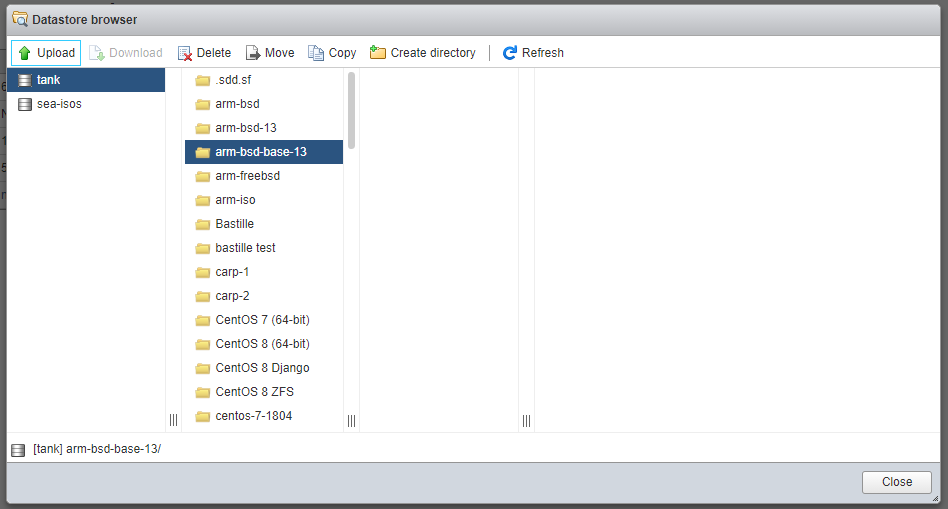
Use the Datastore browser to create a location to store the FreeBSD VMDK file.
Click on the Upload button and select the extracted VMDK file from your system to begin the upload process.
Take note of the upload progress in the top-right of the window. Due to the size of the VMDK file, it may take a few minutes to upload.
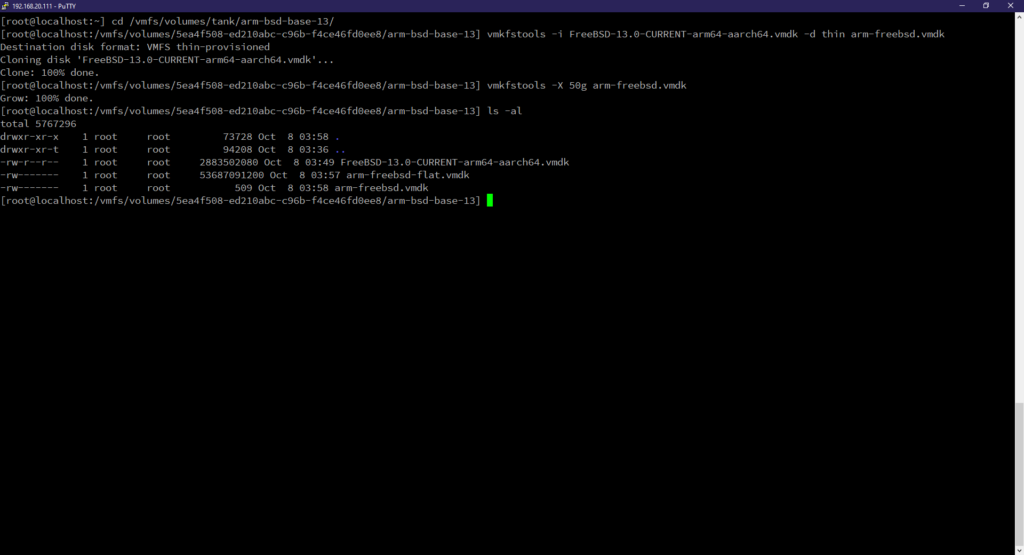
The VMDK file provided by FreeBSD is designed for VMware Workstation. We’ll need to convert it for use on ESXi. This is also a good time to expand the size of the VMDK, so we have room to install additional applications.
  1. Navigate to the folder where the VMDK file was uploaded. In my case, I have it on my tank volume inside of the arm-bsd-base-13 folder.
    • cd /vmfs/volumes/tank/arm-bsd-base-13
  2. Convert the VMDK file from Workstation to ESXi (optionally making it thin provisioned)
    • vmkfstools -i FreeBSD-13.0-CURRENT-arm64-aarch64.vmdk -d thin arm-freebsd.vmdk
  3. Expand the size of the newly created VMDK file (in my case, I’m making it 50GiB)
    • vmkfstools -X 50g arm-freebsd.vmdk

Creating a FreeBSD ARM virtual machine

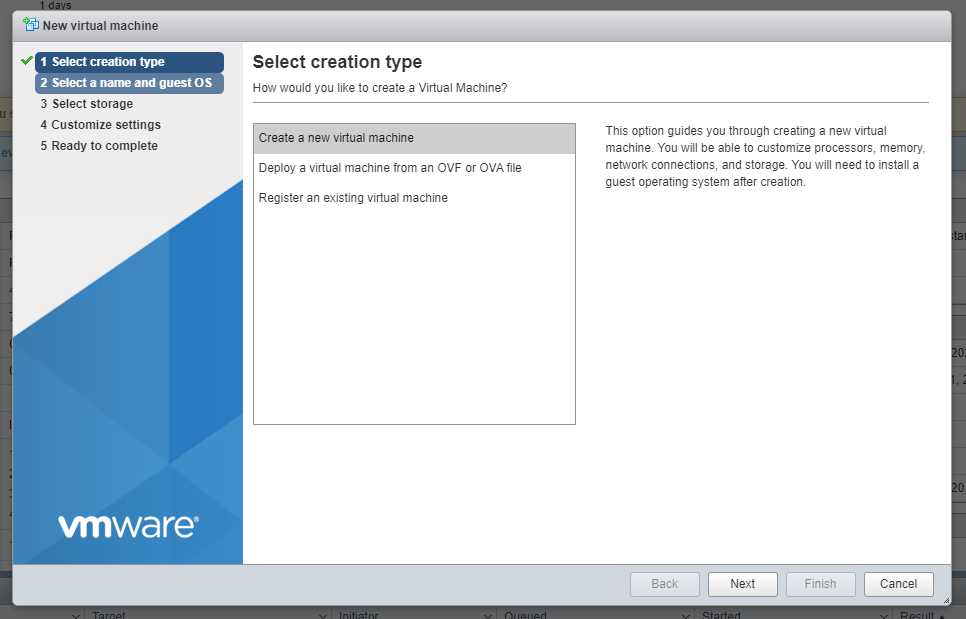
Now we can start creating our new virtual machine like normal.
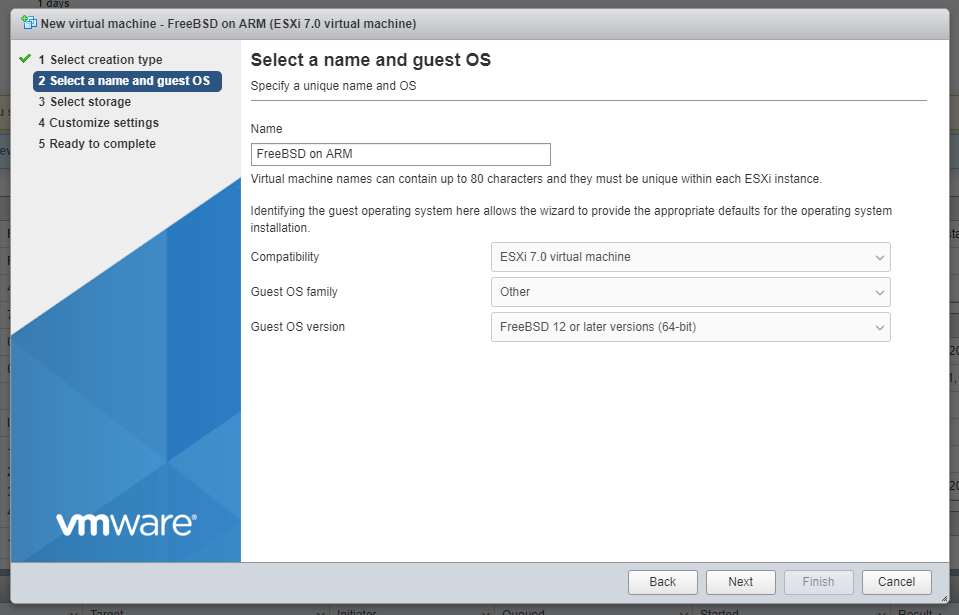
Enter the name for your new virtual machine. Select Other as the Guset OS family and then FreeBSD 12 or later version (64-bit) as the Guest OS version.
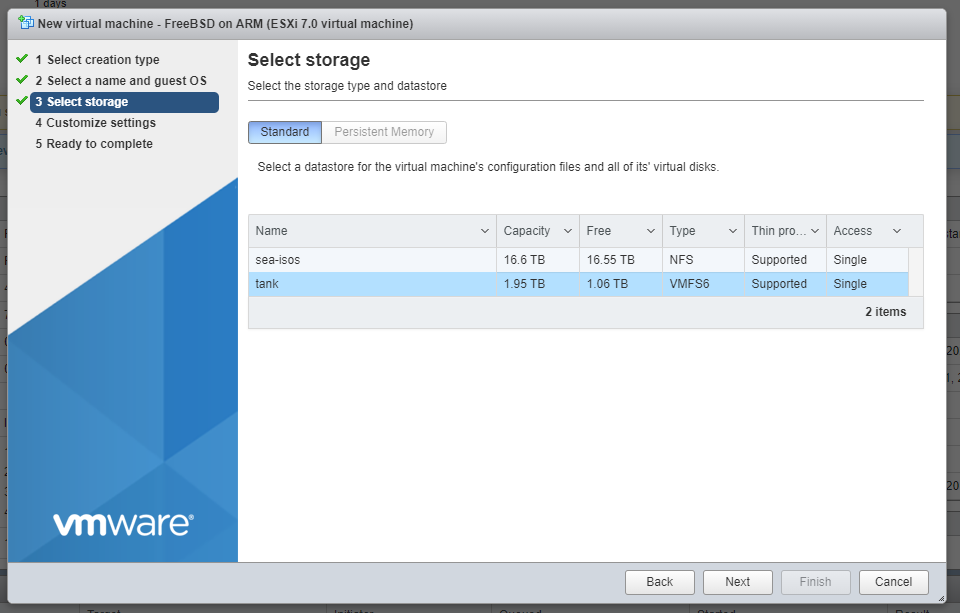
Select where you want to store this new virtual machine.
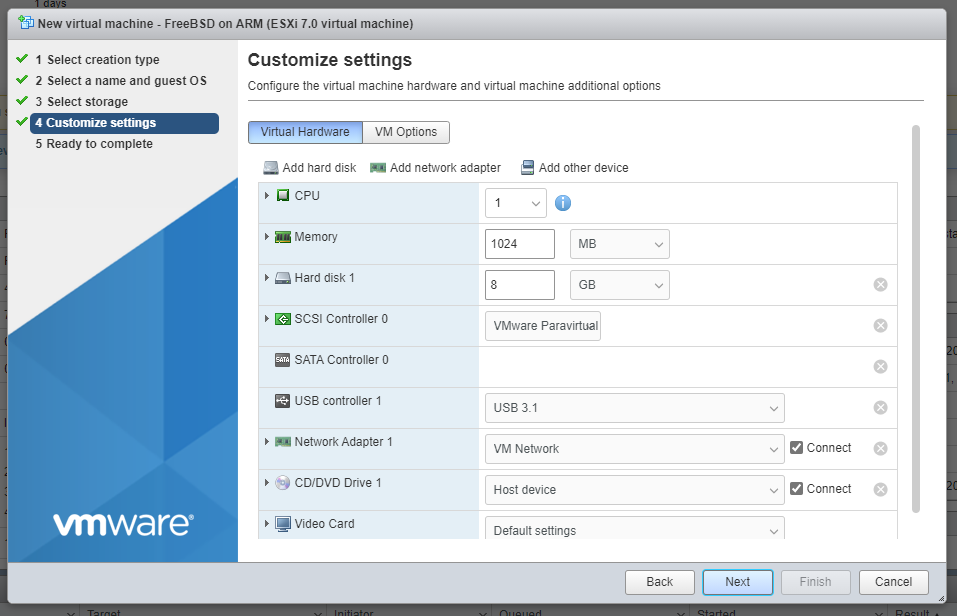
NOTE: As of this writing, anything higher than 1 for the CPU setting will prevent FreeBSD from booting.
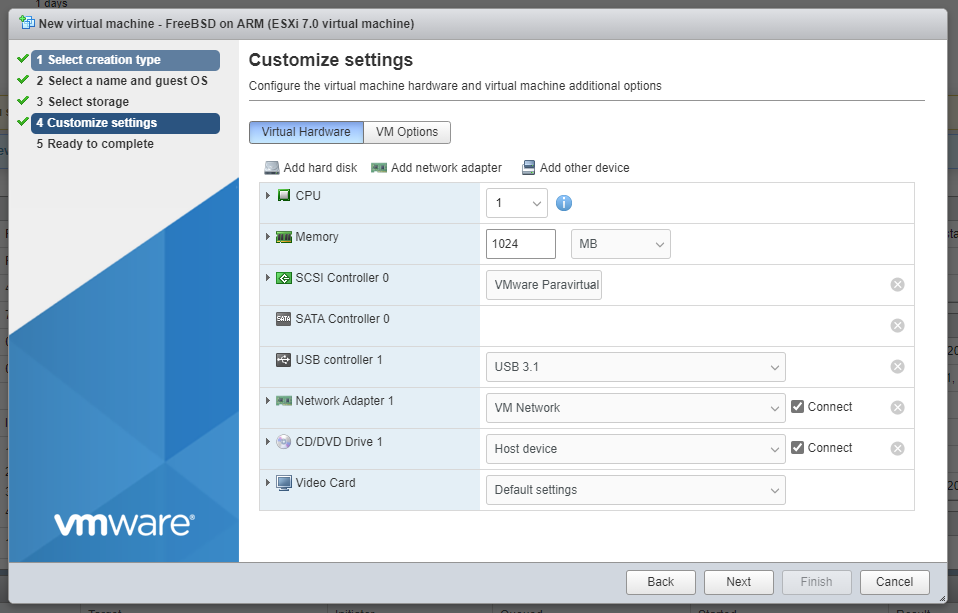
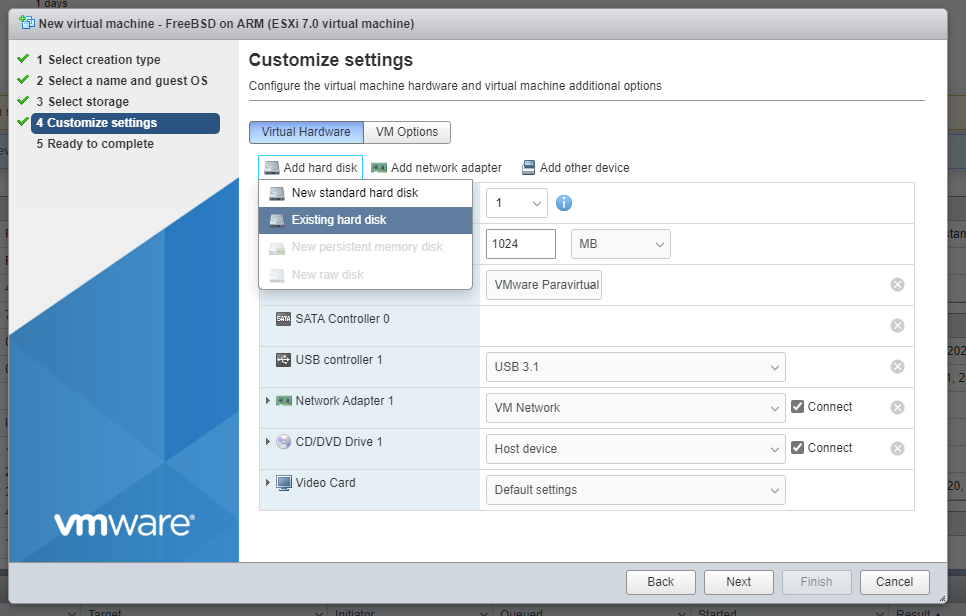
Remove Hard disk 1, as we’ll be using our custom VMDK instead.
Select Add hard disk and then Existing hard disk.
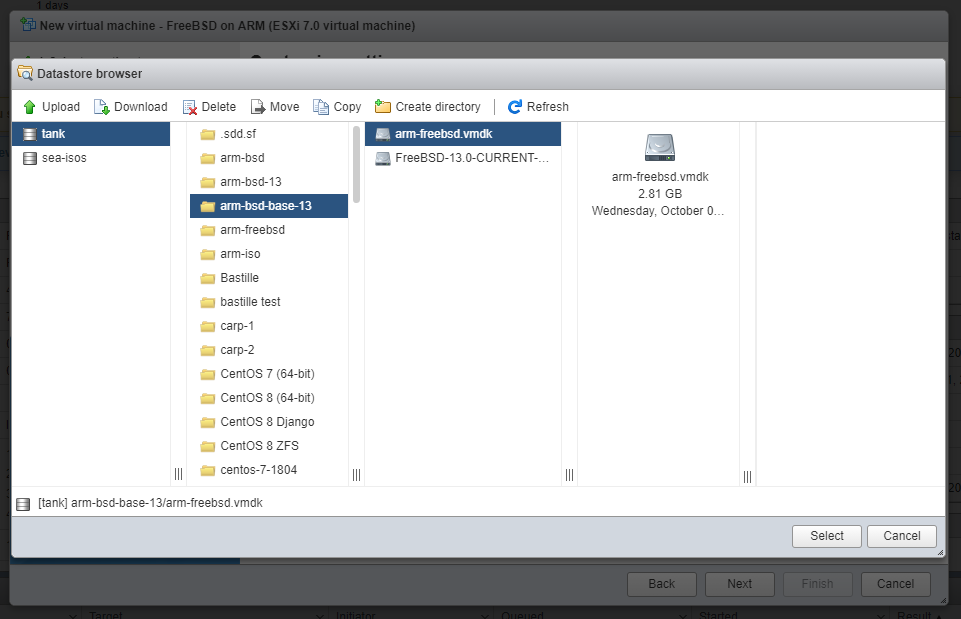
Navigate the file system, and select our recently created VMDK file. Don’t worry about the reported disk size on this screen, as that doesn’t reflect the expanded size of the disk here.
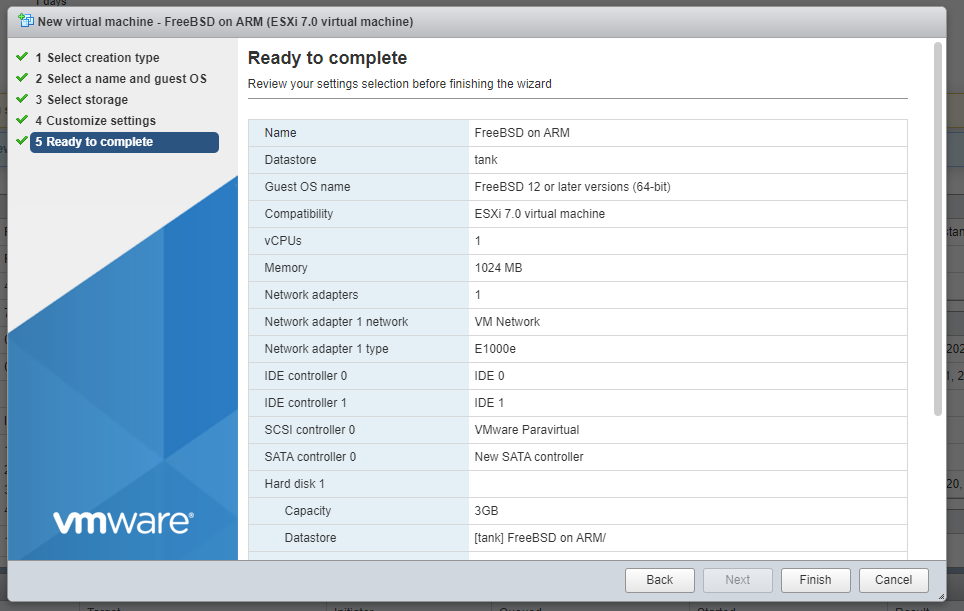
Our virtual machine configuration is complete, we’re ready to click Finish!
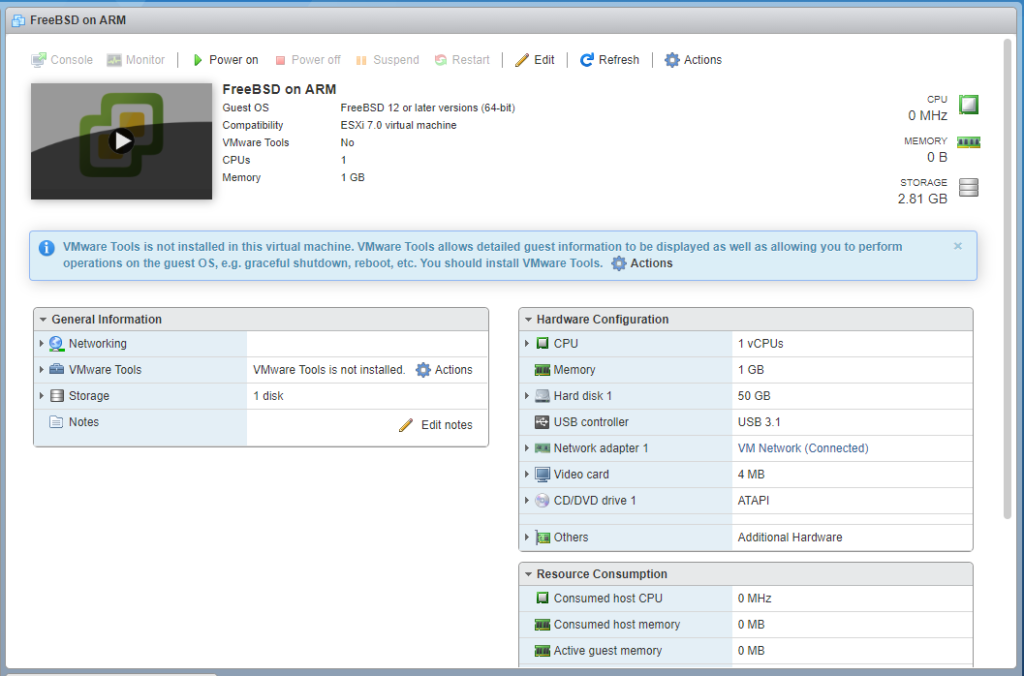
Our virtual machine is now ready. We can interact with it in just about any way that you would expect from a standard ESXi install.
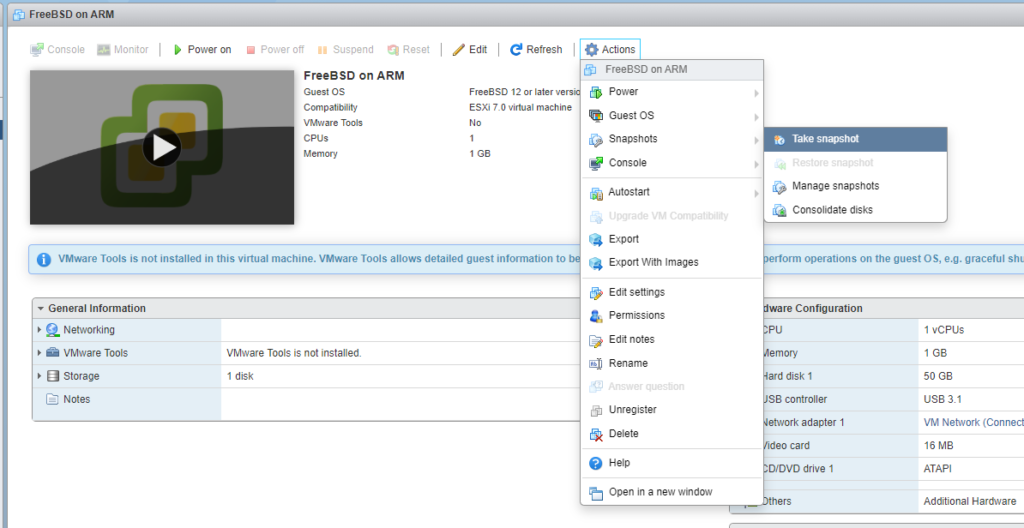
For the sake of safety, this would be a good time to take a virtual machine snapshot. This can be done by selection the Action menu, highlighting Snapshots and then select Take snapshot.
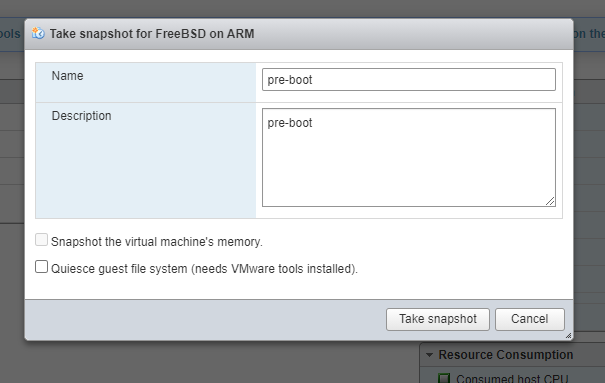
Enter a name and description for this snapshot. I chose “pre-boot” to let me know that this snapshot was taken before the first time I booted the guest FreeBSD operating system.
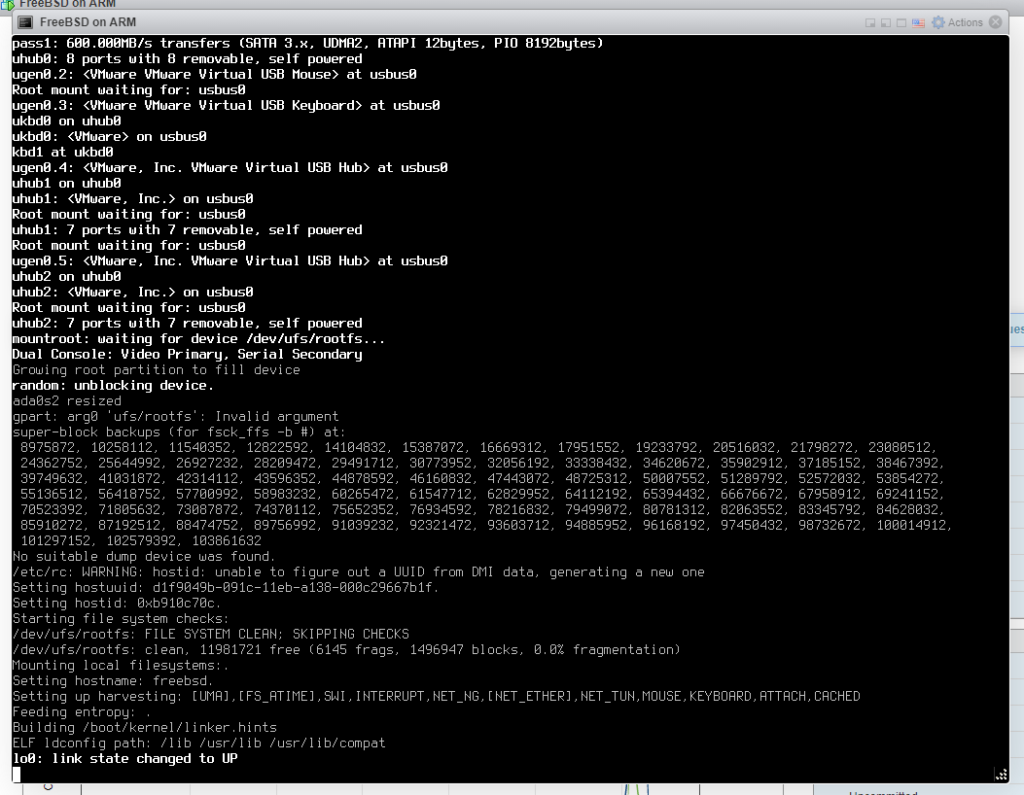
We can now power on our FreeBSD virtual machine. During the first boot process, FreeBSD will autodetect our new VMDK size and expand the UFS file system automatically.
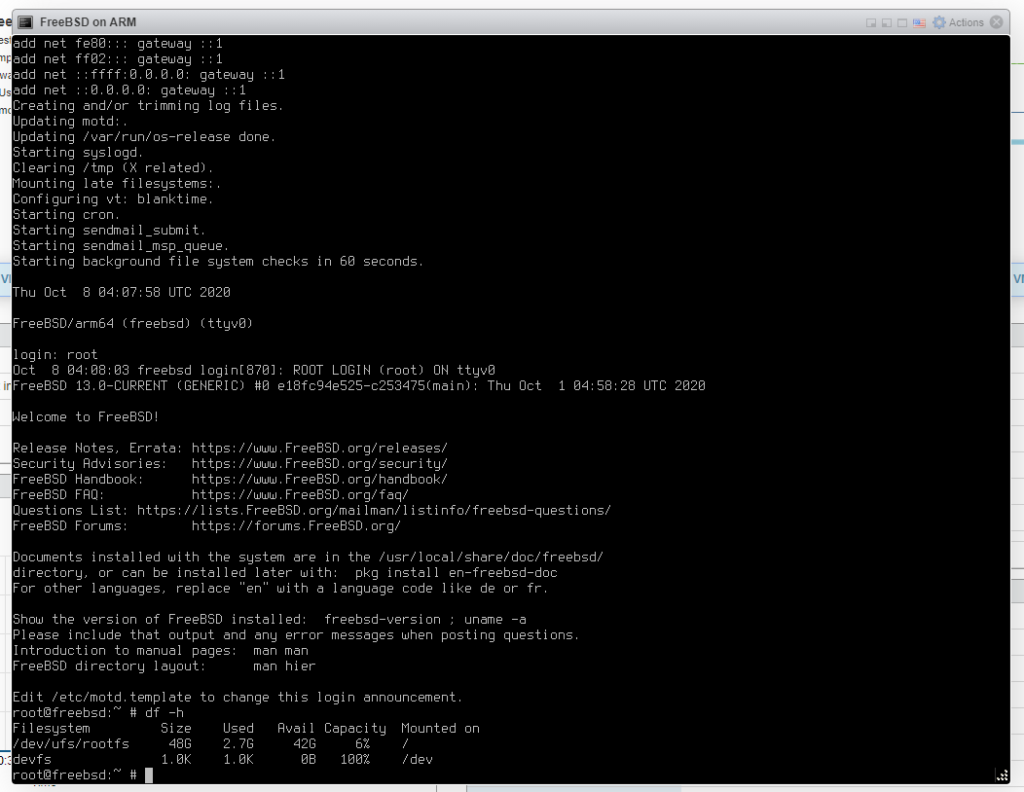
Once fully booted, simply log in as the root user, no password needed.
NOTE: it would be wise to add a password at this point.

kom-pew-pew-pew-t0r

Welcome to the kom-pew-pew-pew-t0r!
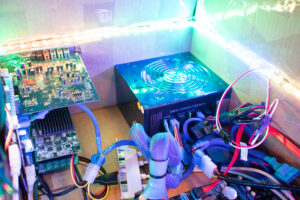
This is the build log for this super awesome amazing magical PC case mod!
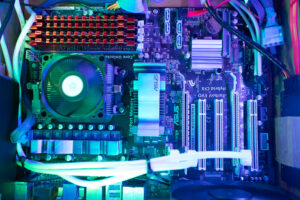
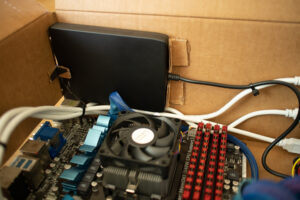
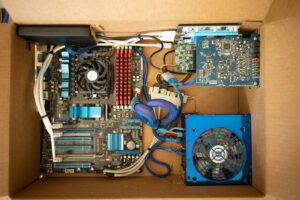
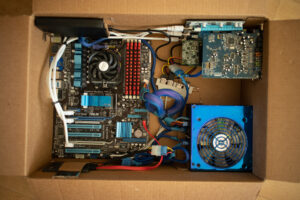
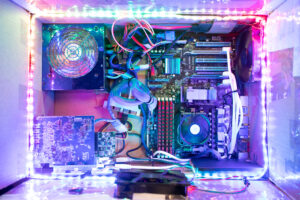
My motivations for this were simple. PDXLAN Summer 2020 @ Home is having a case mod contest, I really freaggin love memes, and I wanted to see how crazy I could go with only spare parts on hand. There was zero purchases for this build, and zero asking others for any parts. All of these came from things I had laying around my apartment.

Specs

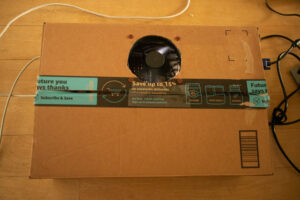
  • Case: Amazon Cardboard Box
  • CPU: AMD Athlon II X4 640 (4-core, 4-thread, 3.0GHz)
  • Motherboard: M4A88T-V EVO/USB3
  • RAM: 4x4GB G.Skill RipJaws DDR3 in Dual-Channel configuration
  • Storage: 64GB Kingston SATA SSD
  • Storage: USB 1.44MB Floppy
  • Sound: Creative Labs SoundBlaster Audigy (on 1x PCIe riser)
  • Sound: Onboard AC97
  • Network: Dual-Port SFP+ 10gbe Emulex OCE10102 (on 1x PCIe riser)
  • Network: Onboard RJ45 1gbe RealTek
  • Network: USB WiFi N
  • Network: USB BlueTooth 2.0
  • GPU: Nvidia GeForce 8400 GS 512 MB (on 1x PCIe riser)
  • GPU: Integrated ATI Radeon HD 4250 128 MB
  • PSU: 10+ year old modular 650w with ripped off tag (sorry, don’t know model anymore)
  • RGB: Custom made ATTiny85 based LED controllers
  • Keyboard: Logitech Internet Navigator Keyboard
  • Mouse: Microsoft IntelliMouse Explorer 2.0
  • Monitor: Dell LCD @ 1280x1024px

Right near the start of the build, #DayJob happened. The Equinix LD8 datacenter in London suffered a near total power failure. My company houses a significant amount of infrastructure in this location, and being on the TechOps team, we went into around-the-clock emergency mode to bring out systems back online after power was restored. Sadly, this ate into my build time. Many of the planned memes and featured games are missing from the final case design and video. At the end of this document, I’ll leave an unedited copy of my personal Windows Notepad brainstorming notes for what I wanted to include. Most is written in short-hand, but it’ll at least give an idea!

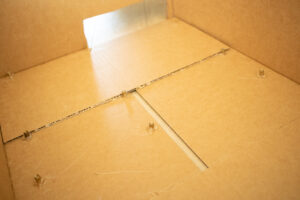
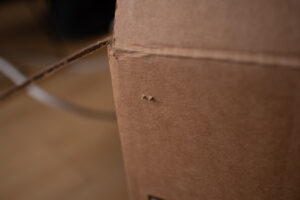
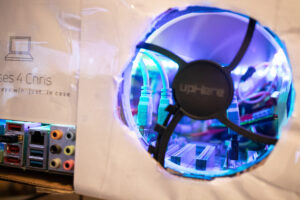
All of the extra cardboard used to hold components in place are pieces from this same box, repurposed after being cut out!

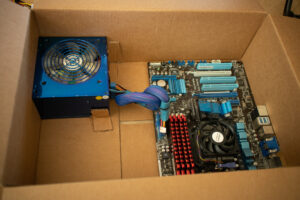
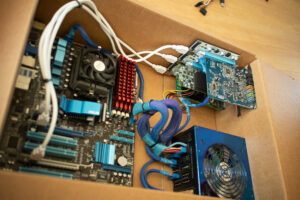
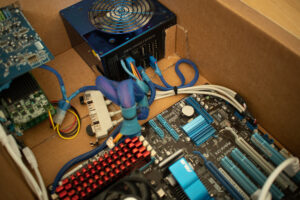
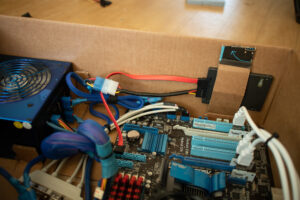
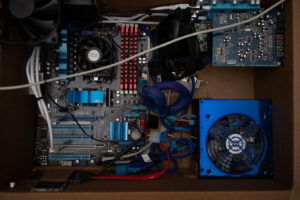
The motherboard is held in by 9 traditional mount screws. I cut small holes into the cardboard and screwed these in. They were not quite stable enough, so I added some hot glue to each. Now that motherboard is rock solid, and not moving. 🙂

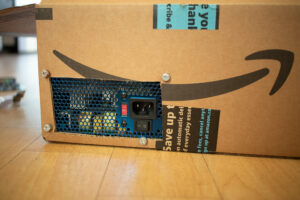
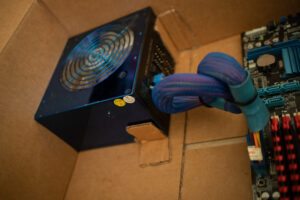
Next, the PSU. This thing is massively heavy. Using larger thumb screws, these acted as pseudo washers against the cardboard. This mostly keeps the power supply in place. I wanted a little extra stability, so I added some extra cardboard internally to stabilize it.

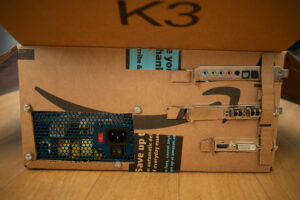
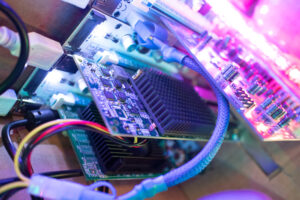
Next came the I/O. I had a bunch of spare 1x PCIe risers, and I didn’t give a damn about performance!!! So yup, just had to use these for the LAWLz. This is how the GPU, Sound Card, and 10gbe NIC are attached.

One of the random items I had recently purchased for another project was a USB floppy drive. I needed internal USB ports, so I rummaged through my old wire box. I found a 4-port USB 2.0 bracket, and this motherboard luckily has a pair of USB 2.0 headers ready to go for it. The bracket was also stored with a USB WiFi dongle and USB BlueTooth dongle already attached, so SCORE! Bonus features.

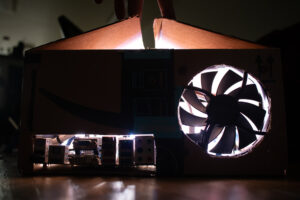
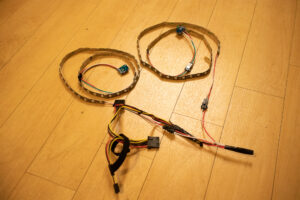
The RGB LEDs are not your typic kit. They’re not attached or controlled by the motherboard at all. These are WS2812b LEDs, just like other ARGB LED strips. But by designing my own LED controller and knowing my power budget, it means I can do some extra things with it. I attached each of the two strip’s power sources directly to the PSU’s 5v output. This means I don’t have the normal 500ma power limitation that USB or motherbaord LED strips have. Because of this, I can run them at max brightness without worrying of damaging components (consumer purchased LED controllers wont allow for max brightness usually, due to fear of straining power budgets, which can harm components or even catch fire… which yes, I’ve done while building my own controllers!!)

As you can tell from the video, all of the gaming was done on Windows 98 SE! … but wait … Win98 doesn’t support more than 512MB RAM, or wifi, or bluetooth, or 10gbe, or more than 1 CPU core, or….

**** SPOILERS ****

The host OS is actually Windows 10 1909, with a Windows 98 SE VMware Workstation guest. When I went to set this system, I couldn’t find my Windows 10 2004 USB drive, so I pulled an older 1909 out of my shelf of stuff… then an hour later when I needed my house keys, realized that the 2004 USB drive was attached to my key ring 😛 GO ME.

If you watch the video, you can actually see the VMWare BIOS boot screen during the Windows 98 SE install process while the system reboots. You can also notice the gray bar at the top of the video. Also, after a few days, Windows 10 started showing the “ACTIVATE WINDOWS” always-on-top text, and these shows up in the last few screen recordings.

SORRY for the repeated audio. The last couple clips that have sound were recorded in a hurry before I left the apartment for the weekend (I’m actually publishing this from another location on my laptop and barely meeting the deadline WHOOPSS!). Things got rushed, because once again, the massive server outage at work ate a LOT of time unexpectedly this week!

All in all, this was a fun little build. It runs. It plays games. It looks cool. It memes hard. It has already brought smiles to the faces of those that have seen the work in progress. In the end, that’s all that matters, gaming, and our gaming hardware, bringing smiles of joy to people’s faces!

Windows Notepad Brainstorming

“NOW PARTS ARE IN CASE!”

r-g-bees – printed out pics of bees, colored with red/green sharpie

videos:
* installing windows 98
* each of the games
* dxdiag?
* 3dmark 2000!
* fr-08

k0m-pew-pew-pew-t0r
“infinite” mega-hurtz
million-80-p rezo1ushunz
LCD-9001 (printed piece of paper with “LCD” on it)

fan goes BBBBRRRRR

over a clock (overclocked)

print out of 3d rendering of a character named mark
^^^ Mark the Minion

DONT COPY THAT FLOPPY


case provided by charity: cases for chris


cboard xtreme 2020 edition

cable manager, inspector, supervisor, worker, cheif cable officer
^^^ xkcd characters
^^^ printed out and pasted inside case

iconic sounds from games
wolf3d (whatever the German phase the guards say)
diablo “AHHHH, FRESH MEAT”
doom chainsaw
ut99 “HEADSHOT”
FPS Doug (need I say more!?)
skyroads
space pinball


use knife to start computer, because everything runs faster with a knife


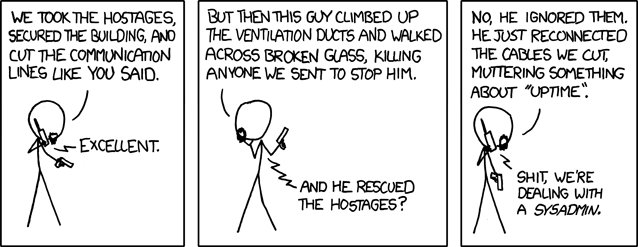
equinix LD8 / xkcd sys admin
rgb power budget / brightness
FLOPPY! becase WHY NOT!?
10gbe! because WHY NOT !?