UPDATE 2020-10-17
As of the FreeBSD 13.0-CURRENT snapshot from 2020-10-15, the installation ISO is now bootable and fully works to install FreeBSD on ARM just as you would do under VMware on i386 or AMD64.
Download the latest disk1.iso image from the following URL, load it into the virtual CD-ROM drive, and boot your new VM like normal. It should boot off of the ISO image and enter the FreeBSD installer as expected.
https://download.freebsd.org/ftp/snapshots/arm64/aarch64/ISO-IMAGES/13.0/
Additional information on getting individual drivers to work under FreeBSD on ARM can be found at the following link.
https://vincerants.com/freebsd-on-esxi-arm-fling-fixing-virtual-hardware/
Earlier this week, VMware released ESXi on Arm Fling, their hypervisor for the ARM platform. Here are instructions to get a FreeBSD virtual machine up and running under VMWare ESXi on Arm Fling.
These instruction assume you’ve followed VMware’s documentation on setting up the hypervisor on your ARM platform, and are familiar with the basics of how ESXi/vSphere functions.
For my hardware configuration, I’m using a Raspberry Pi 4 (8GB) with whatever old MicroSD card I could find for the UEFI firmware, and an equally old USB drive to install the hypervisor on to. The ESXi install is less than 200MiB. For actual VM storage, I am using an existing x86-64 iSCSI VMFS from my NAS.
These instructions follow the process of downloading the official ARM VMDK files from FreeBSD. I’ve as of yet to get the installer ISO to boot properly, so for the time being, this is how we’ll work. (see update above)
Both FreeBSD 12.1-RELEASE and 13.0-CURRENT will work for this process, though I personally recommend 13.0 as it has a more complete collection of pre-compiled 3rd part ports software.
Downloading and preparing the VMDK
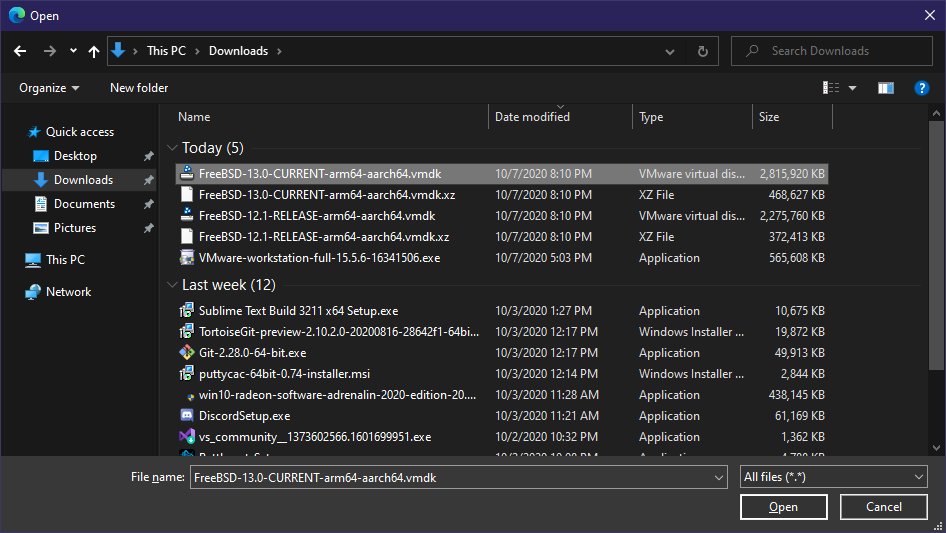
Download the compressed VMDK file from one of the following URLs, and then extract it locally.
https://download.freebsd.org/ftp/releases/VM-IMAGES/12.1-RELEASE/aarch64/Latest/
https://download.freebsd.org/ftp/snapshots/VM-IMAGES/13.0-CURRENT/aarch64/Latest/
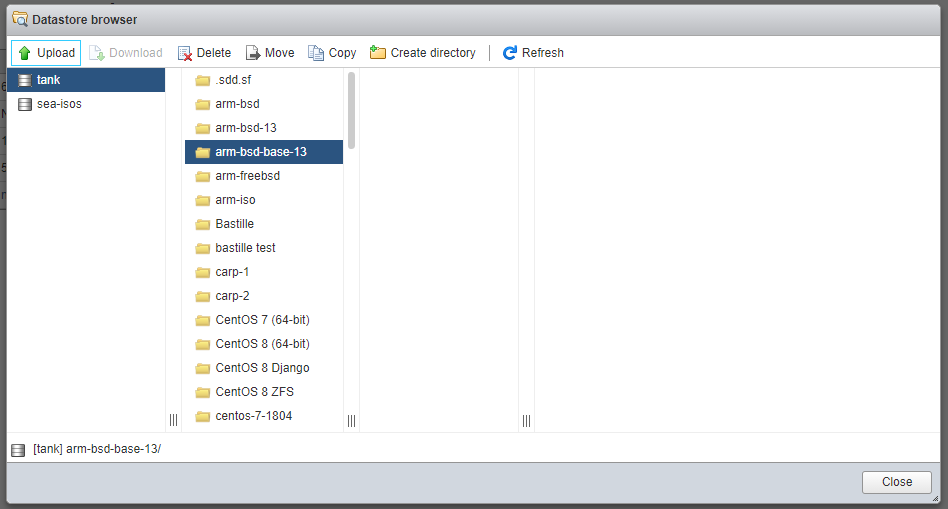
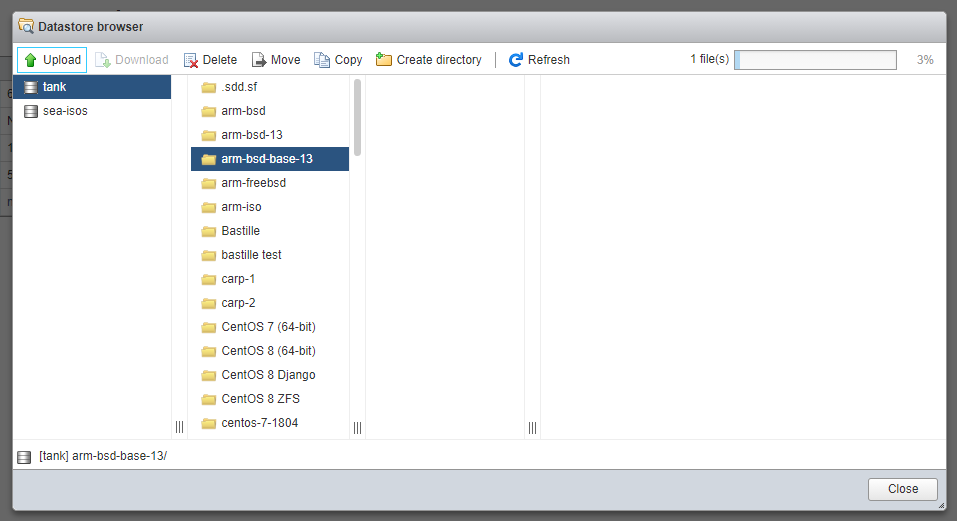
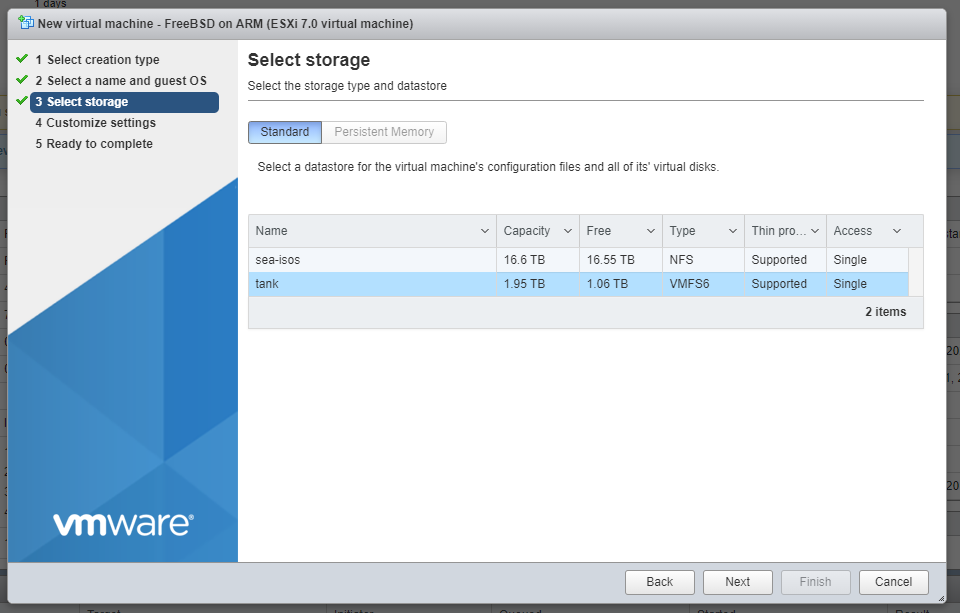
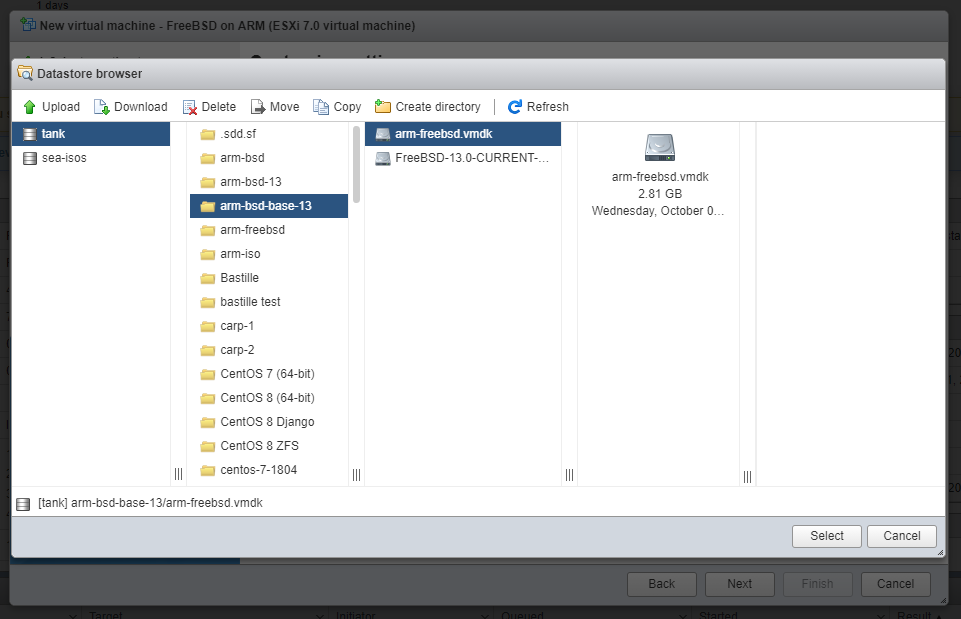
- Navigate to the folder where the VMDK file was uploaded. In my case, I have it on my tank volume inside of the arm-bsd-base-13 folder.
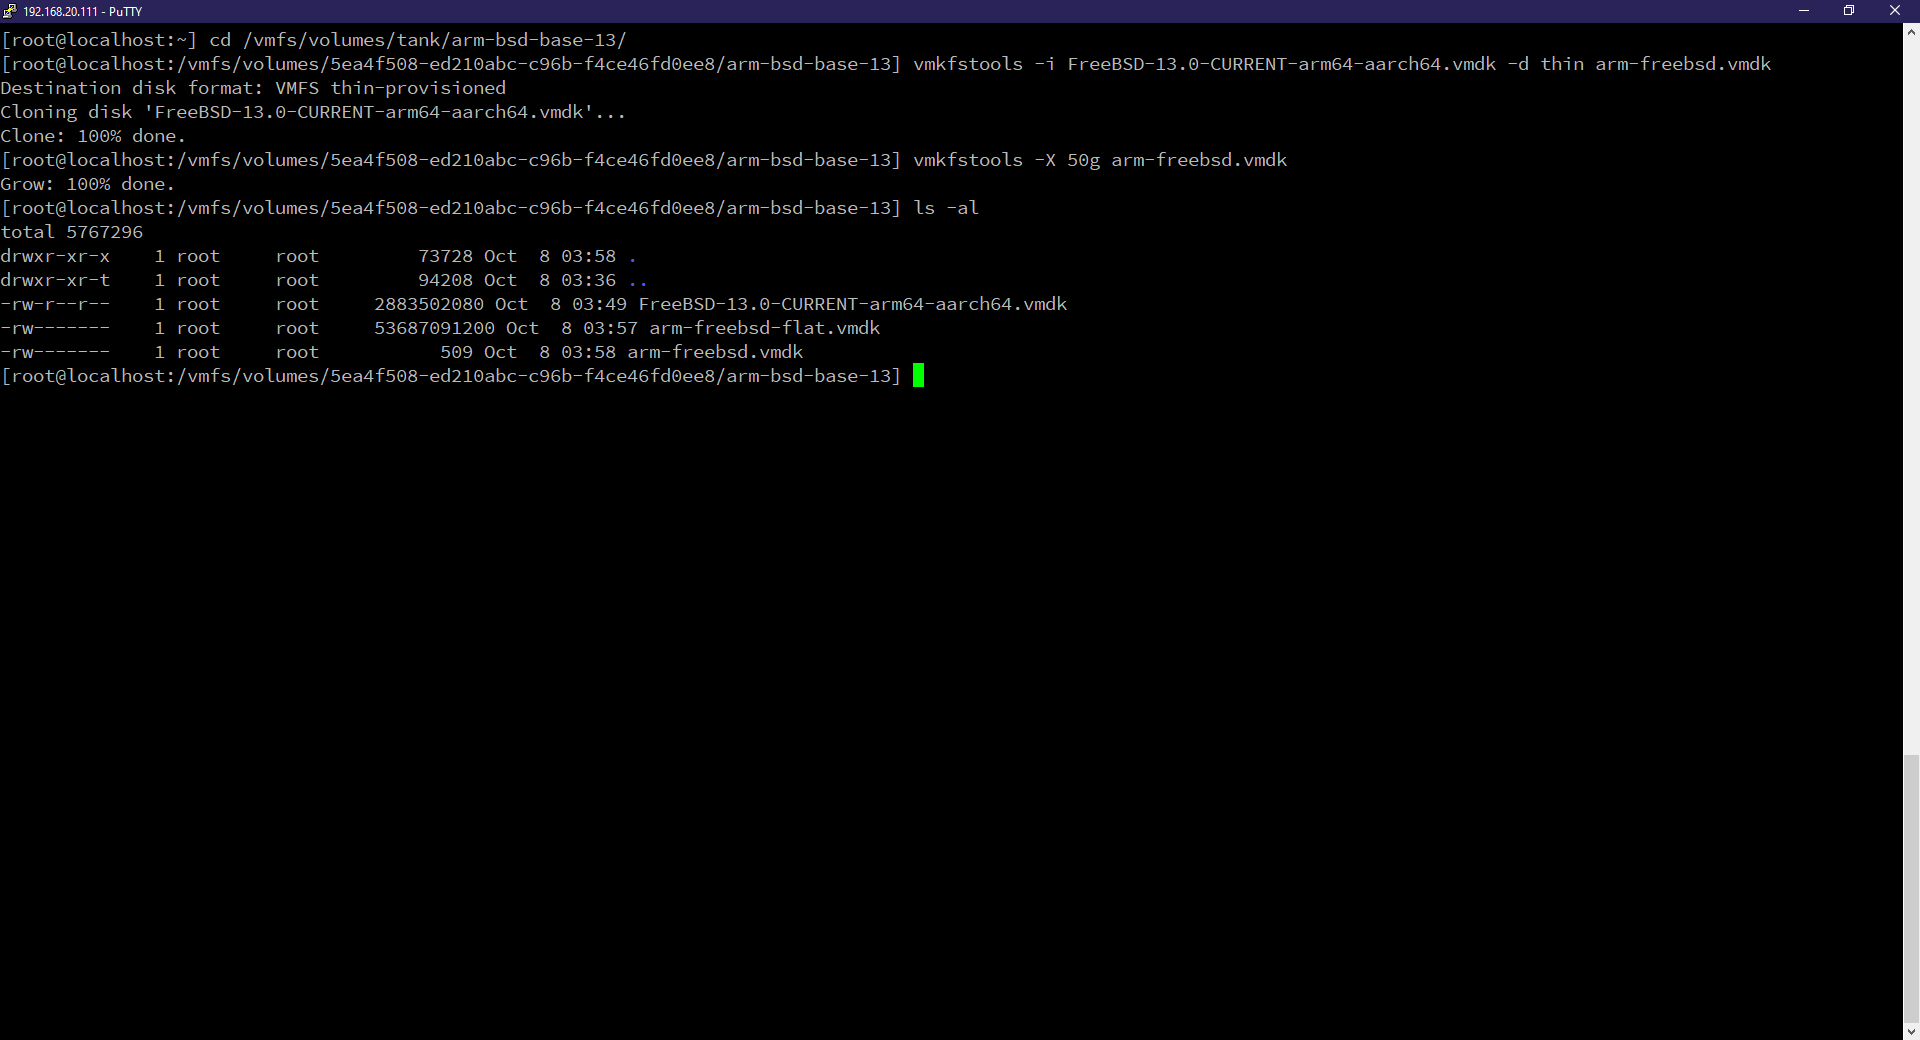
- cd /vmfs/volumes/tank/arm-bsd-base-13
- Convert the VMDK file from Workstation to ESXi (optionally making it thin provisioned)
- vmkfstools -i FreeBSD-13.0-CURRENT-arm64-aarch64.vmdk -d thin arm-freebsd.vmdk
- Expand the size of the newly created VMDK file (in my case, I’m making it 50GiB)
- vmkfstools -X 50g arm-freebsd.vmdk
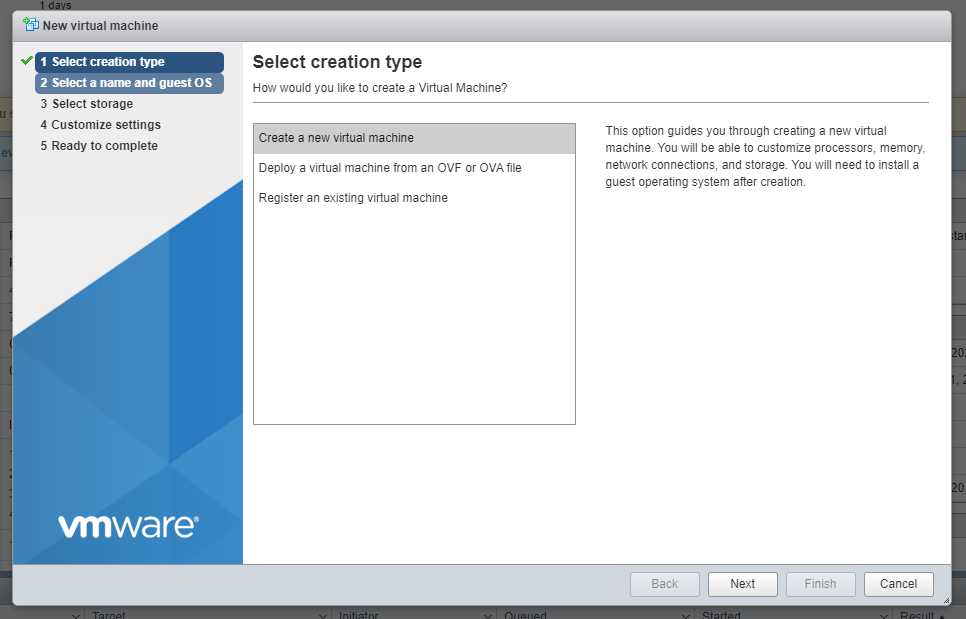
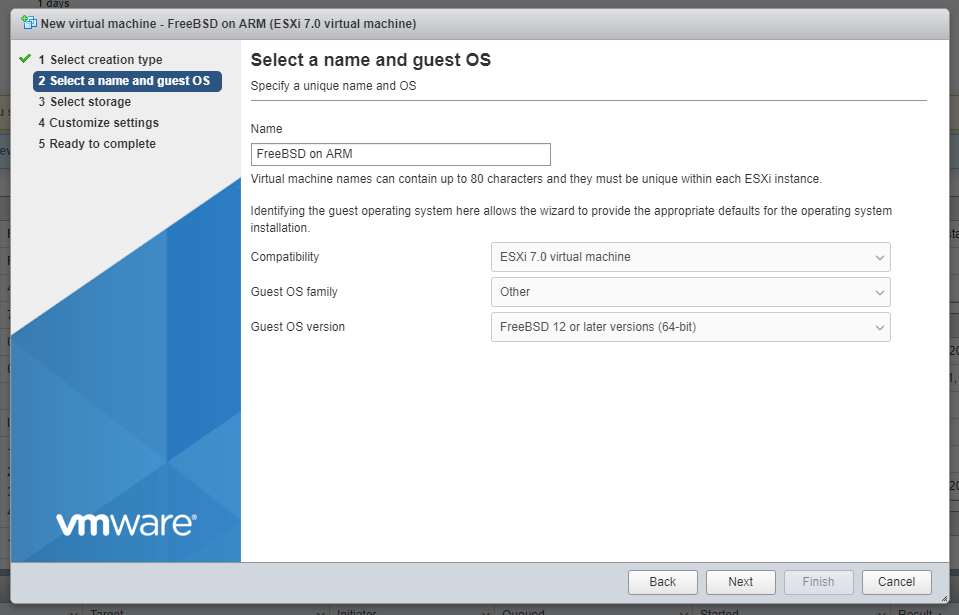
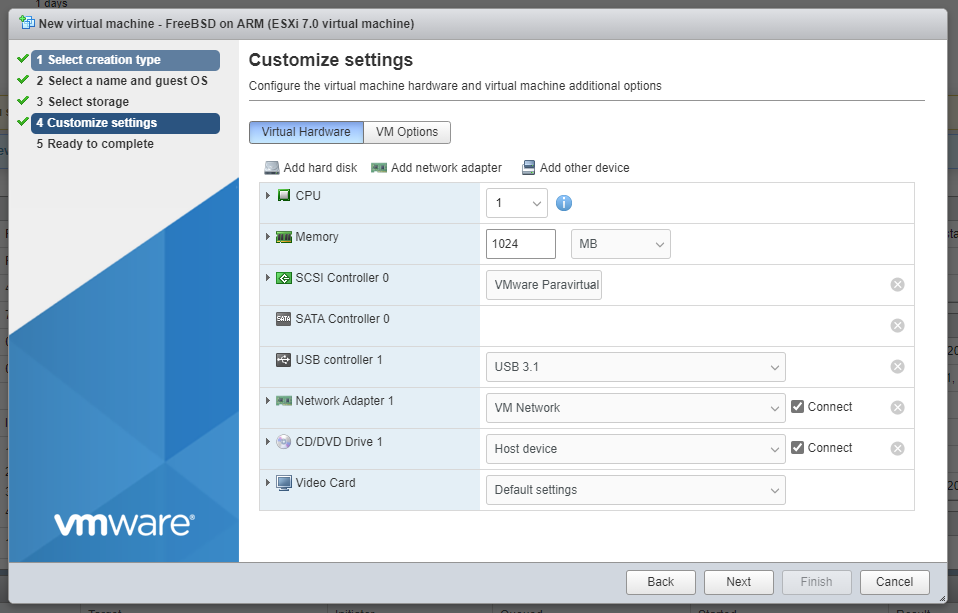
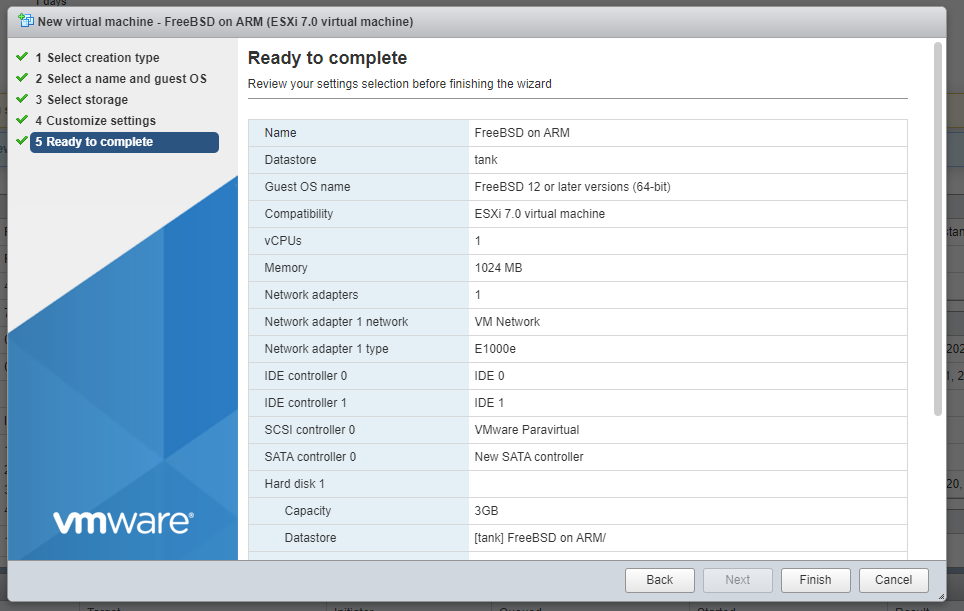
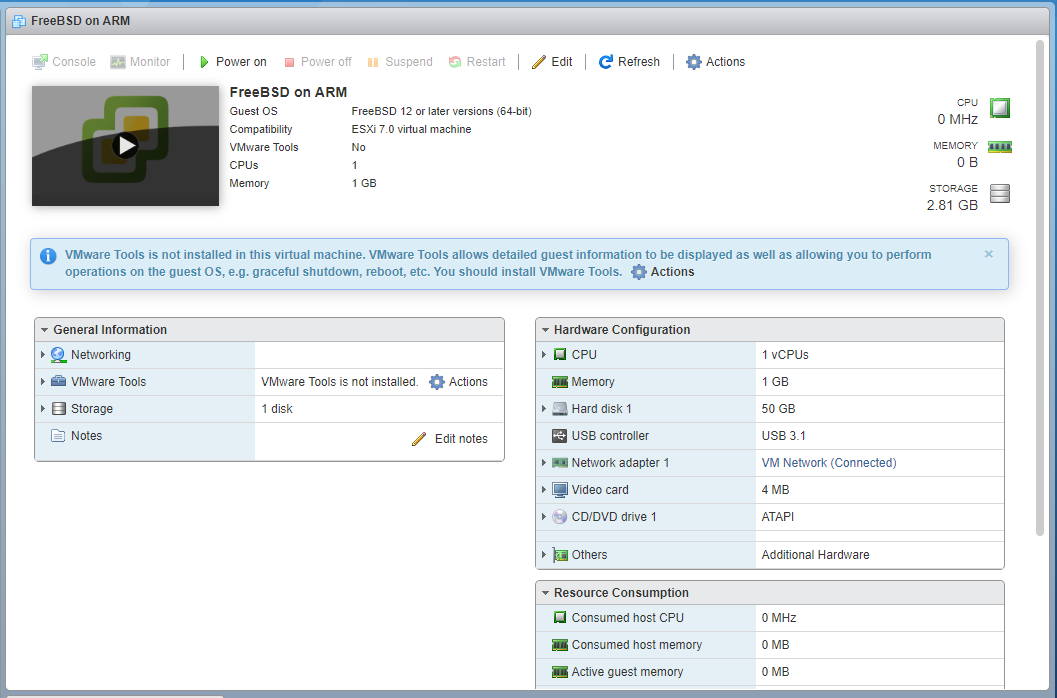
Creating a FreeBSD ARM virtual machine

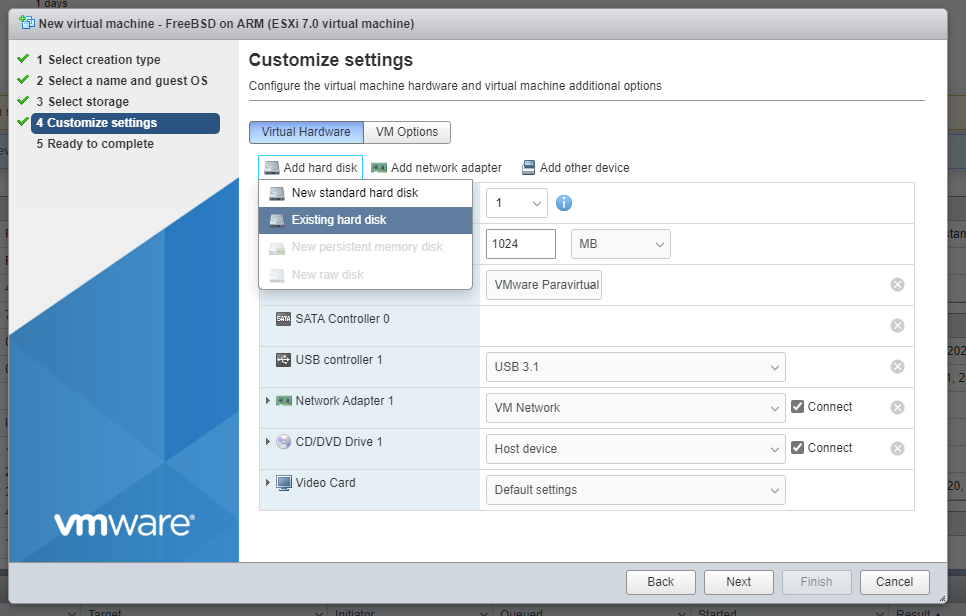
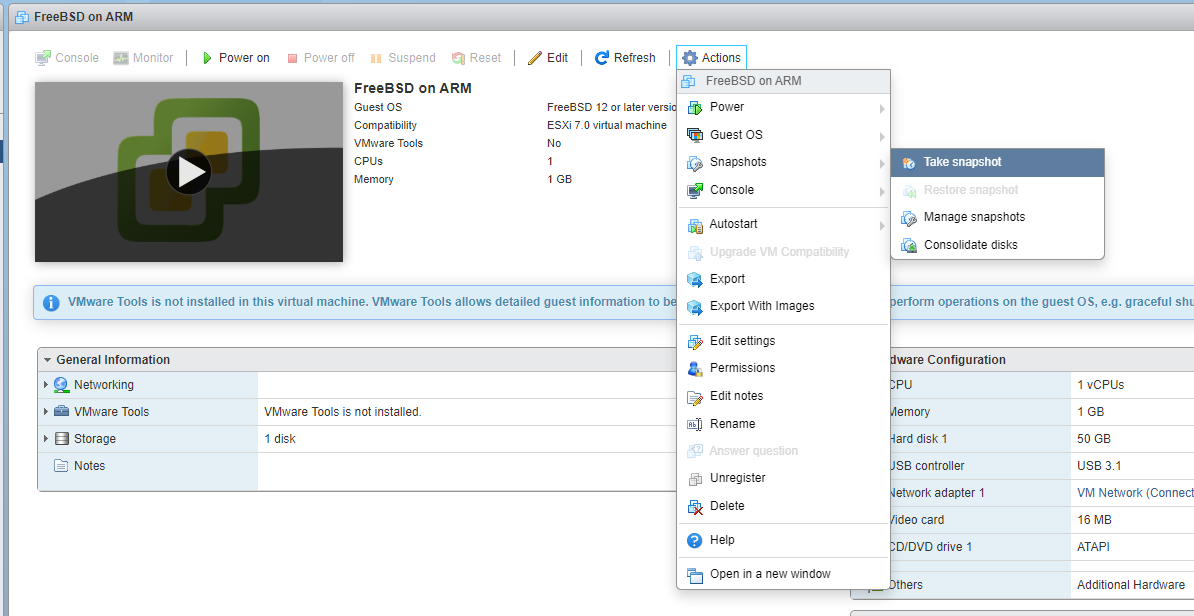
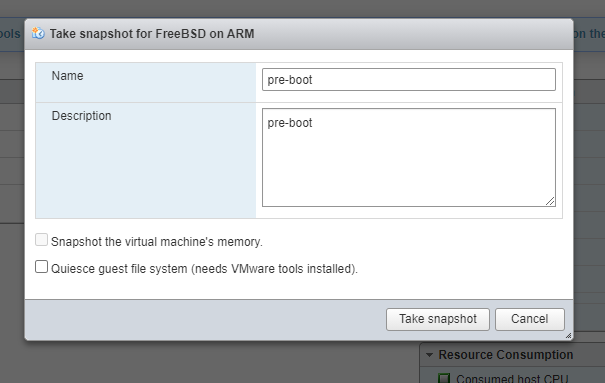
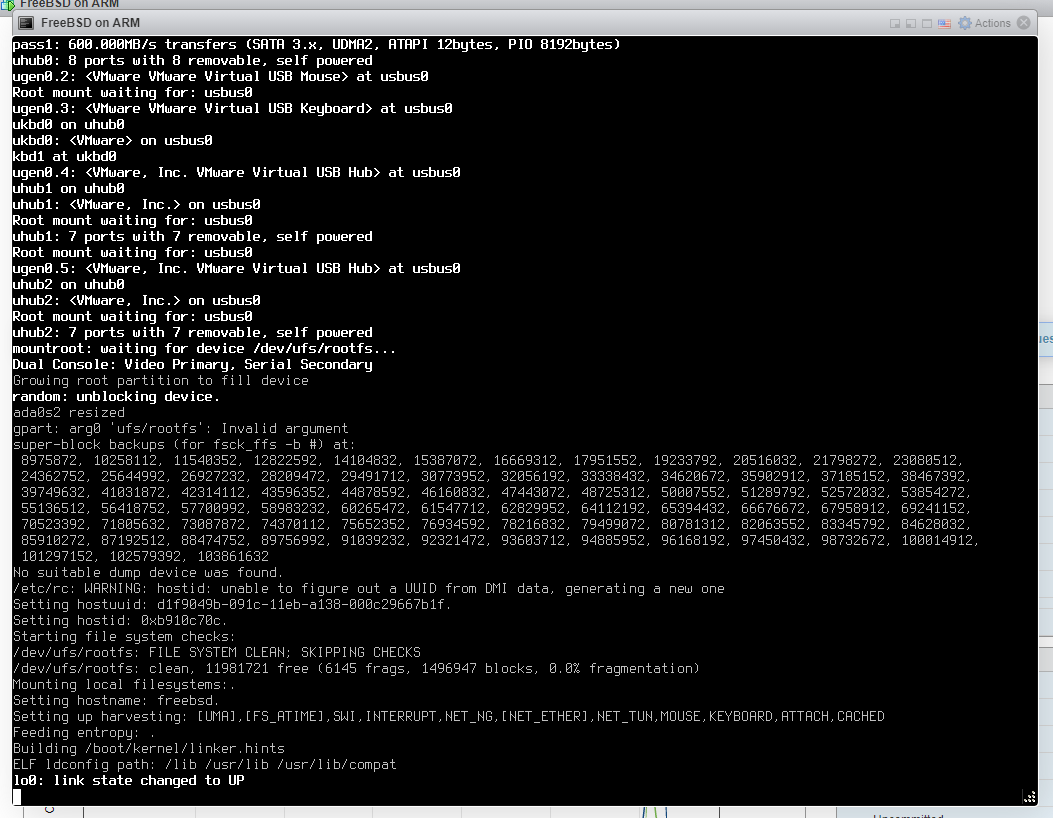
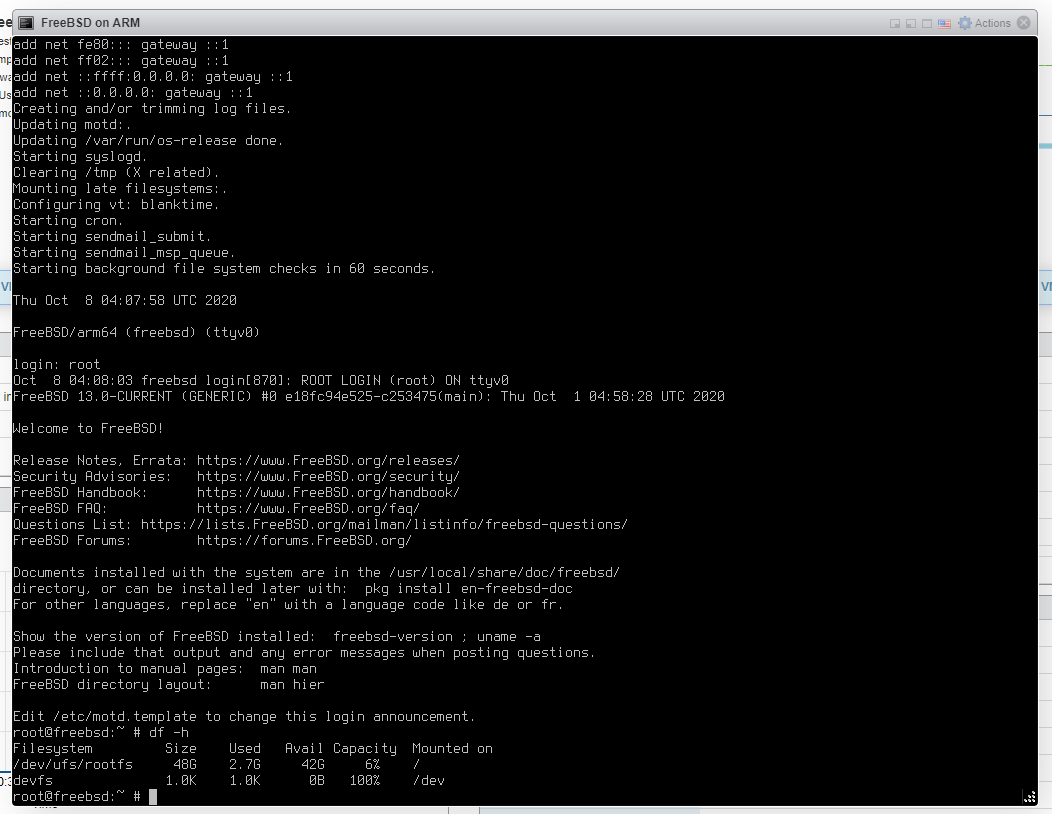
NOTE: it would be wise to add a password at this point.